🤝
Linking Pixela with Counter Widget (iOS App)
Introduction
As you may already know, Pixela is a web service that provides a REST-ish web API as its main user interface.
While this has the advantage of making it easy to incorporate Pixela into programs and workflows you already have, it also has the disadvantage of requiring some programming and using commands from the terminal to use Pixela.
"Counter Widget" is an app that utilizes the widget functionality of iOS (the author is not us, it is a third party's app) and allows you to easily place a counter on your iOS home screen.


The Counter Widget now supports sending HTTP requests to external parties at the same time when a button is tapped.
This seems to work very well with the API provided by Pixela. And when we actually tried it, we found that it works very well together.
This article will explain in detail how they work together.
Counter Widget ⇔ Pixela Linkage Theme
Are you familiar with the "Pomodoro Technique"?
In this article, we will use the Counter Widget to count the time spent working with the Pomodoro Technique, and then link the results to Pixela as well.
Preparation in Pixela
The first step is preparation on the Pixela side. The necessary preparations are roughly as follows:
- Create a Pixela user (*if you are not already a registered Pixela user)
- Create a graph to record the time you were able to work with the Pomodoro Technique
- Create a Webhook to work with the Counter Widget
As mentioned above, Pixela is a Web API service, so an environment capable of performing HTTP requests to each API is required to perform these preparatory tasks.
From now on, we will assume that you already have the curl command and terminal available to you.
1. Create a Pixela user
Execute the following command. The is my user name, so replace it with your unique string before executing.
Also, string is like a password. Instead of this string, set a secret string that only you know.
The corresponding API documentation for this API is here: POST - /v1/users - Pixela API Document
Please read this before copying and pasting the above commands.
2. Create a graph to record the time you were able to work with the Pomodoro Technique
Execute the following command. This command is also only an example, so please modify it accordingly to produce a graph that suits you.
The corresponding API documentation for this API is POST - /v1/users/<username>/graphs - Pixela API Document .
3. Create a Webhook to work with the Counter Widget
The last section deals with a somewhat unfamiliar and difficult concept called "Webhook”. If you are not familiar with this, please understand that what you are about to create is a dedicated trigger for the Counter Widget.
Execute the following command. The corresponding API documentation for this API is POST - /v1/users/<username>/webhooks - Pixela API Document .
If this command is successfully executed, you should see the following execution result:
The value in the result of this run (in this example, is the ) is the “secret” string that uniquely identifies the Webhook you have created.
The leakage of this string would allow anyone other than you to update your Pomodoro-graph. Please be careful (but that's about the only impact :) ).
Preparation on Counter Widget side
If you have not yet downloaded Counter Widget, do so from the App Store.
After installation on your iOS device is complete, tap the app icon.
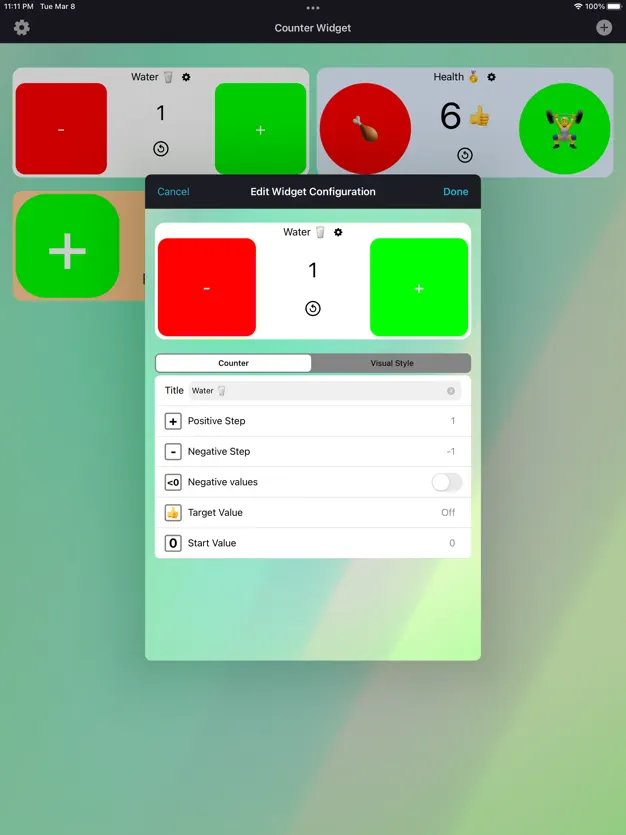
You already have one sample counter. You can change the settings of this counter and use it, but this time we will create another new counter.
Tap the "Plus" icon in the upper right corner of the screen. Not only will a new counter be created, but the following setup screen will also appear:

Let’s customize this. For example:
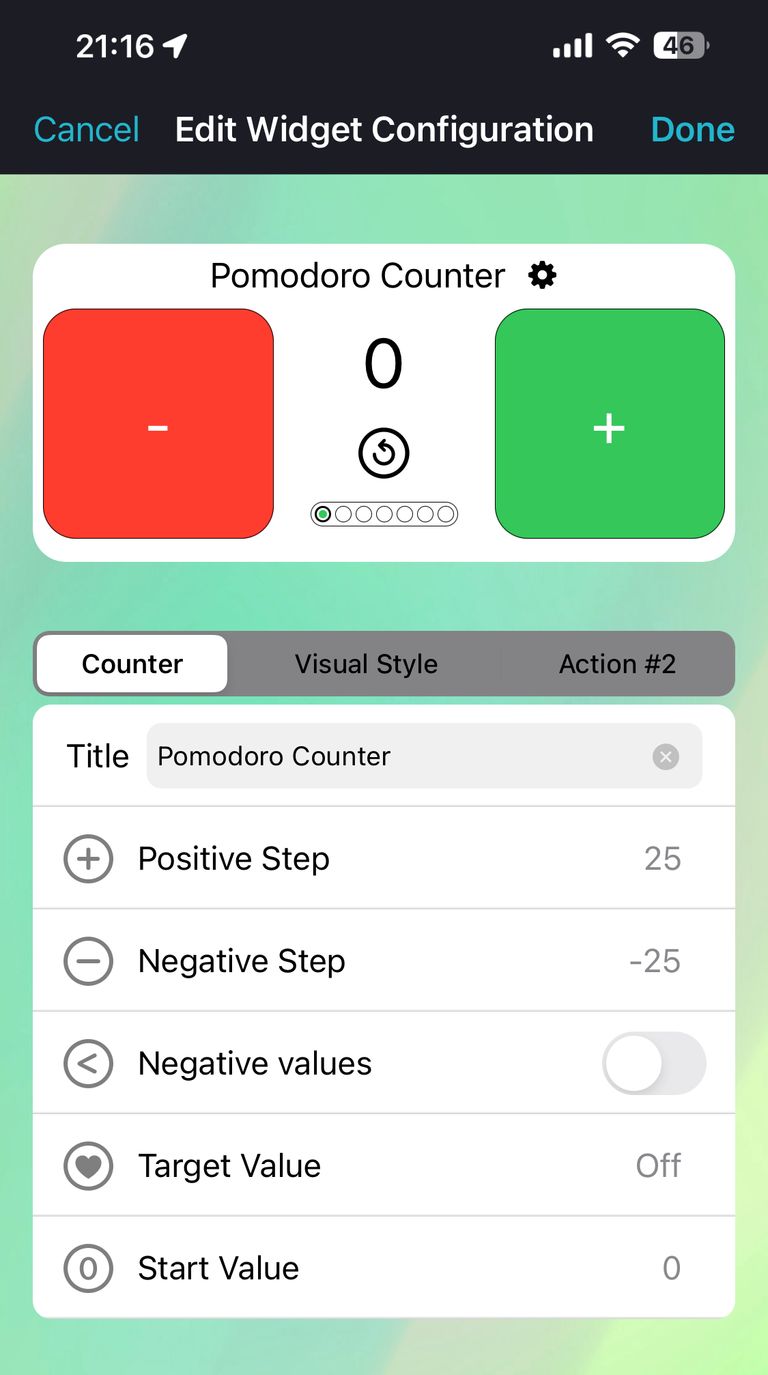
This completes the basic setup of the counter. However, there is still some more work to be done to make it work with Pixela.
There is a tab labeled "Action #2," and the settings on this tab are important for integrating with Pixela.
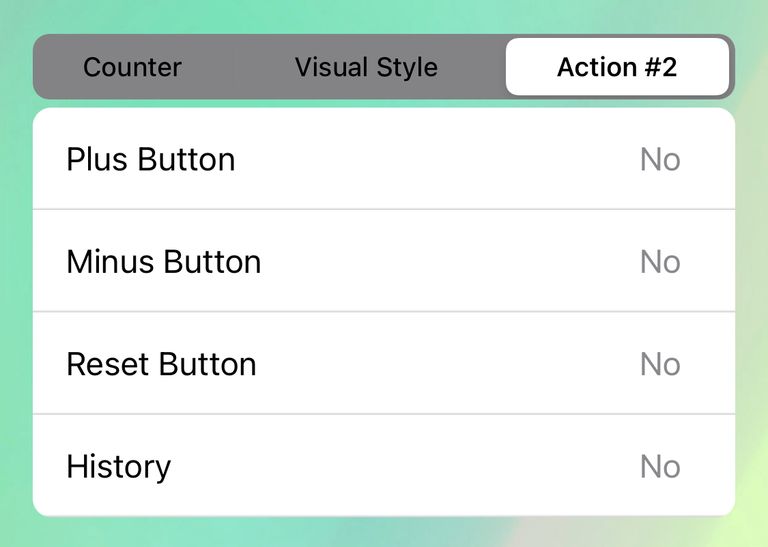
What are the requirements for the counter we are creating? That is, "When the plus button on the Counter Widget is pressed, it not only updates the counter on the Counter Widget, but also sends an HTTP request to Pixela's Webhook” .
To do so, first tap the "Plus Button" menu item in the "Action #2" tab. The display will then change as follows:
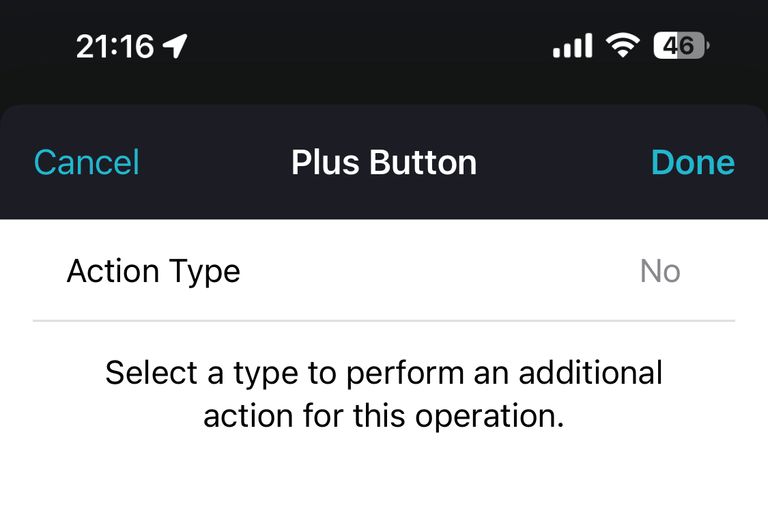
Tap the "Action Type" menu item in this display. Then, the following navigation will be displayed,
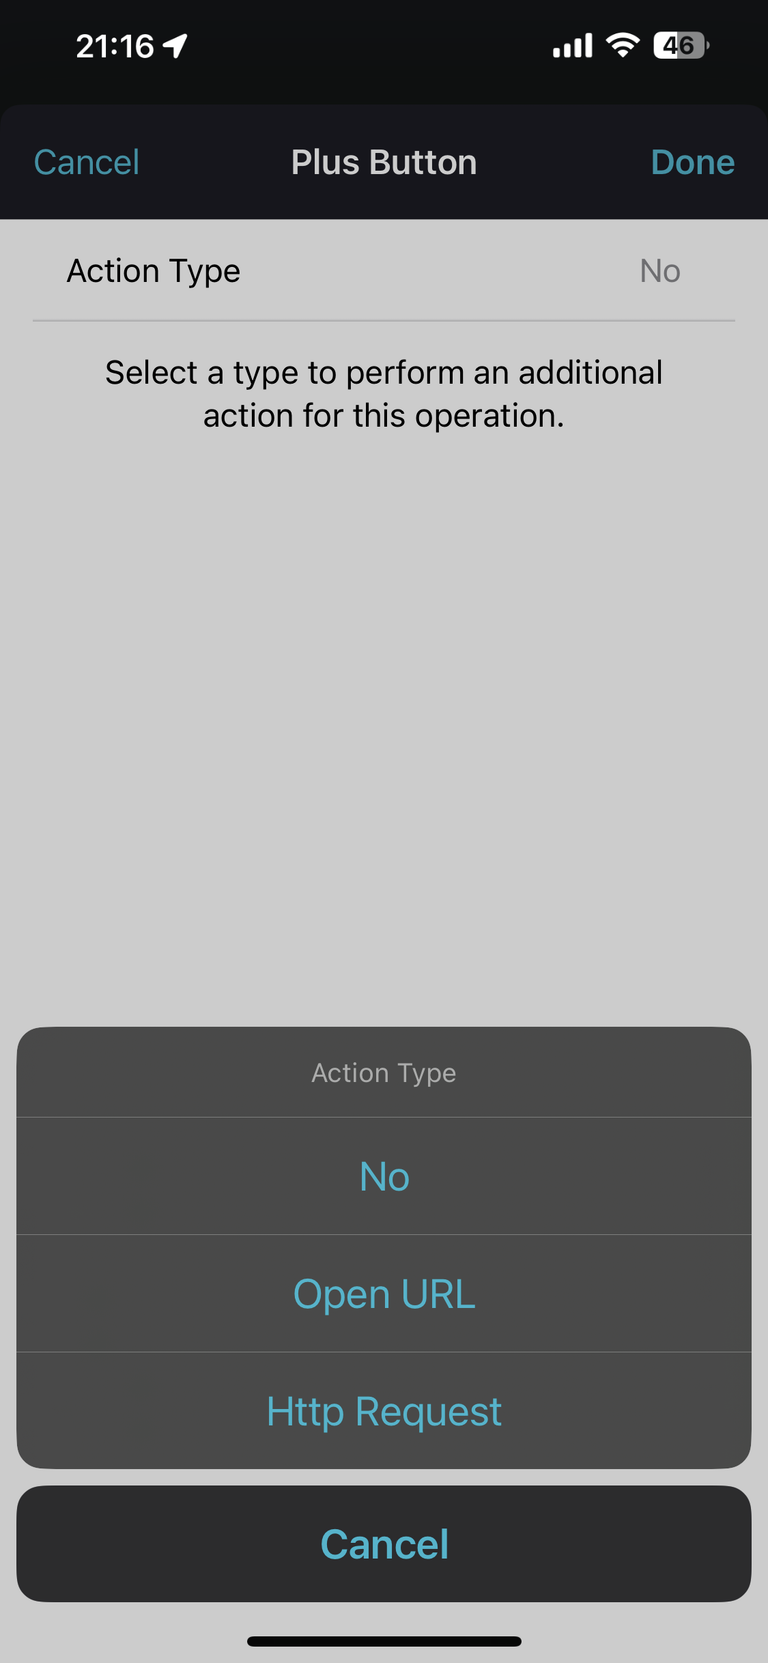
Select "HTTP Request” . Then you will see the following configuration screen,
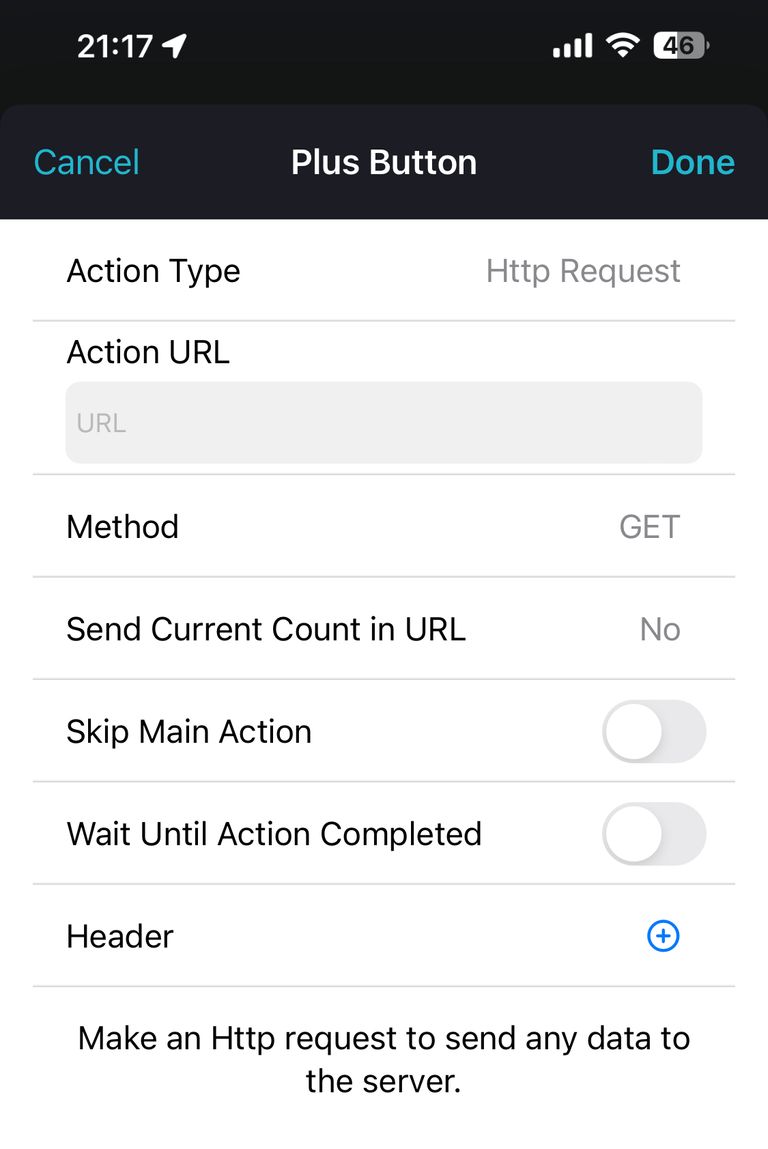
Each of these fields is entered as follows:
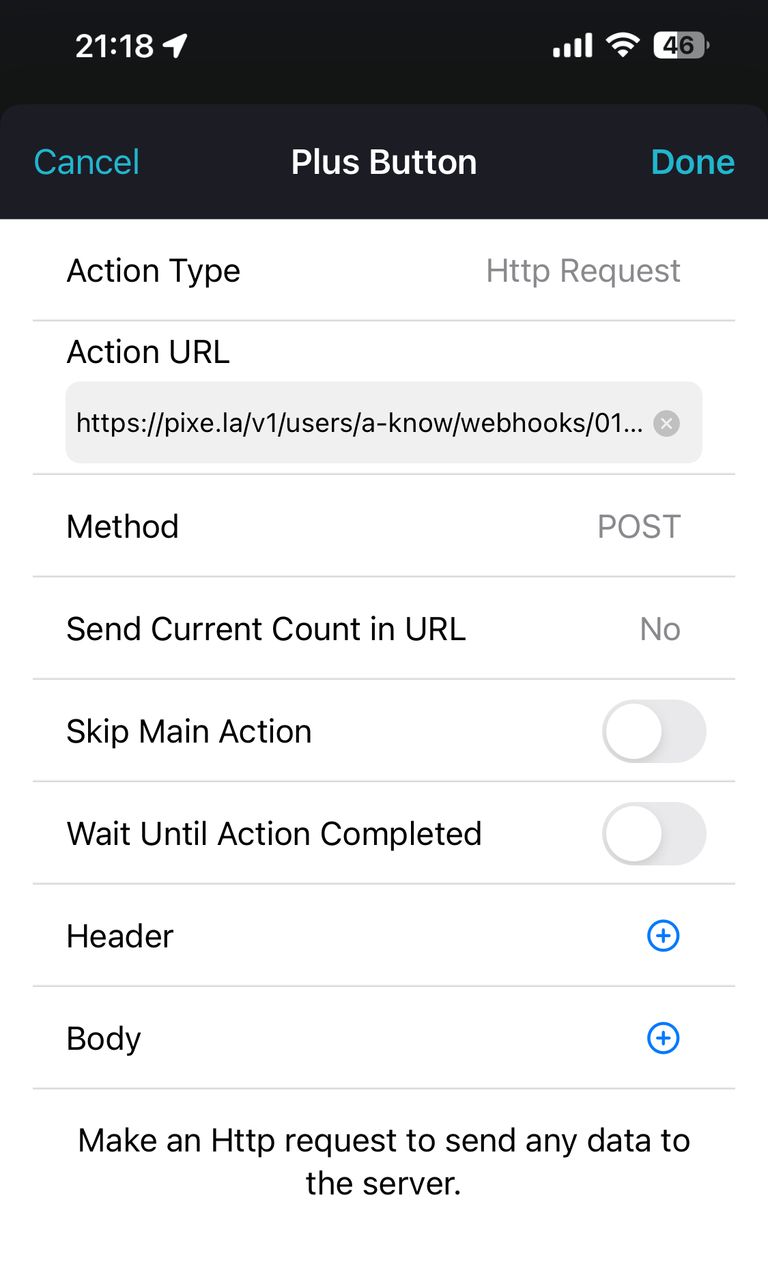
There are two places to enter:
- Action URL
- Enter the Webhook URL. For example, it is a URL like . Use the “secret” Webhook string you created earlier.
- The corresponding API documentation is POST - /v1/users/<username>/webhooks/<webhookHash> - Pixela API Document .
- Method
- Select "POST”.
There is no need to change any other settings. You can leave them as they are.
That's all for the setup with the Counter Widget. Thank you for your time!
Try it out
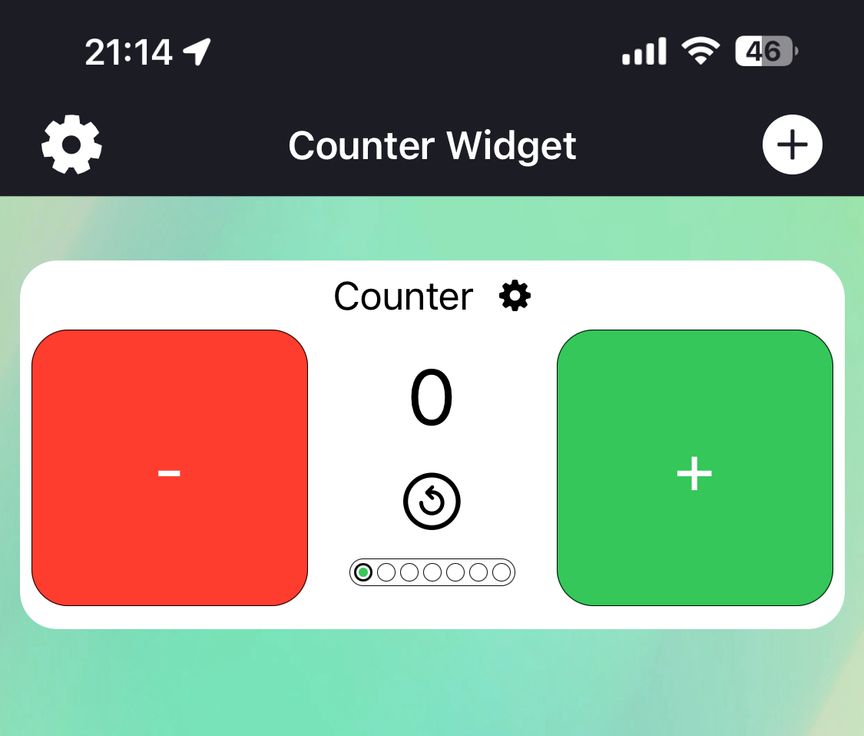
Finally, let's actually set the widget we just created on the home screen.
Select "Counter Widget" from the Add Widget menu at ...…

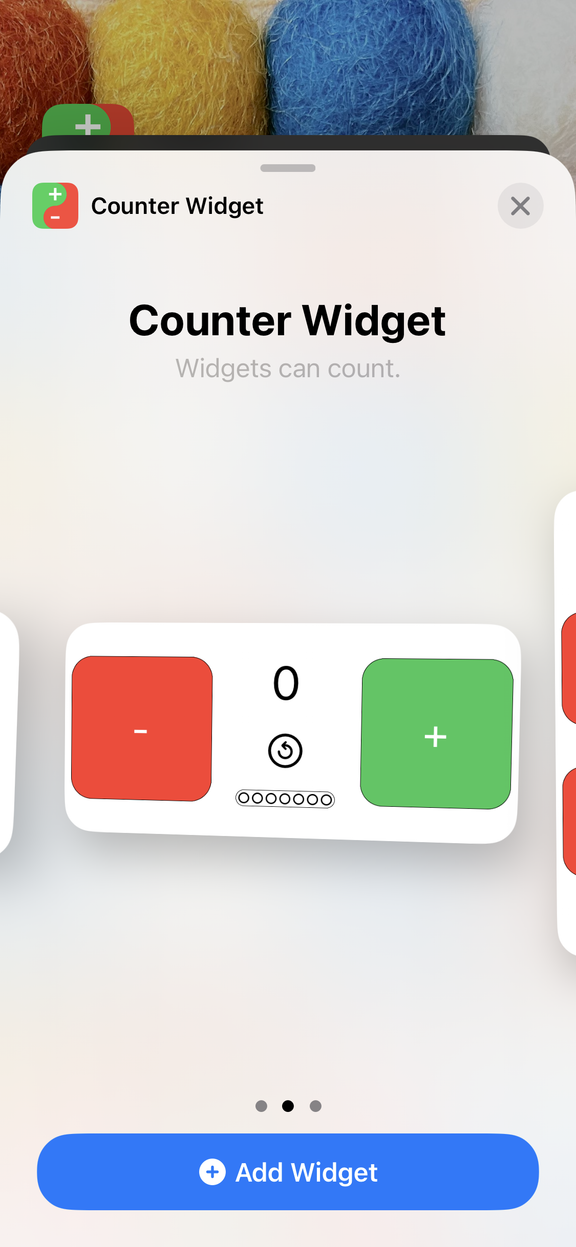
Choose the widget size you want and press the "Add Widget" button.
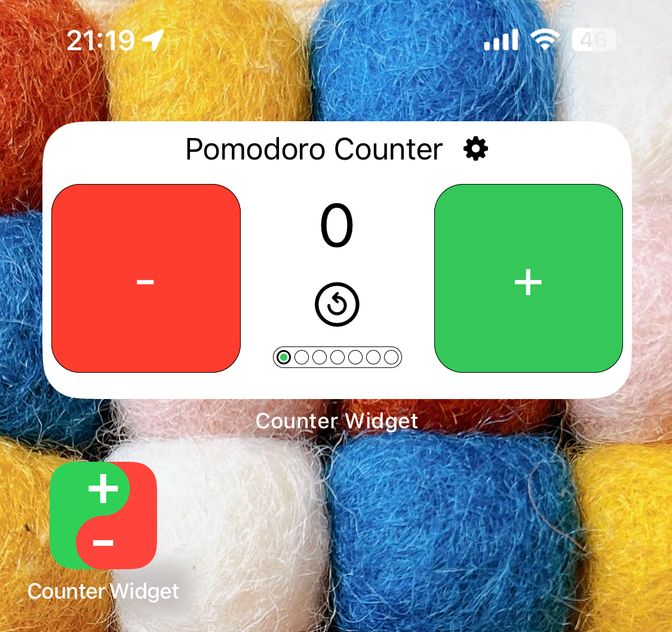
Good!
Tap the plus button on the widget as soon as possible.
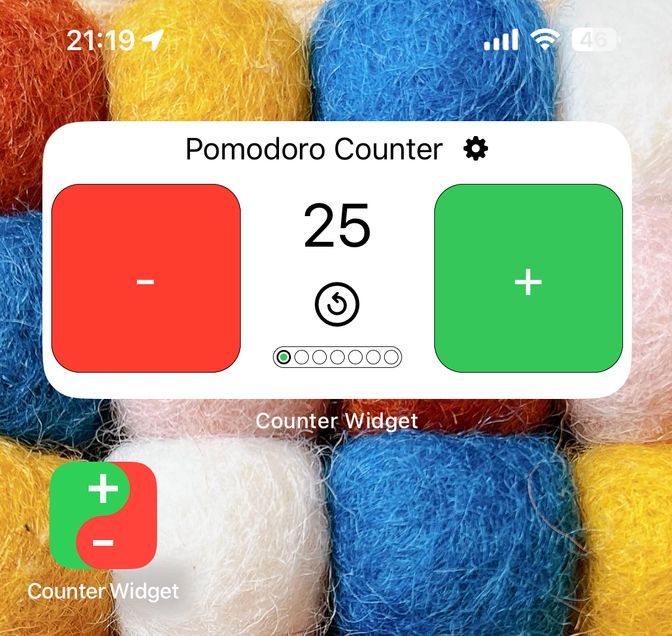
I see that the Counter Widget value has been updated to "25", which is one time Pomodoro time!
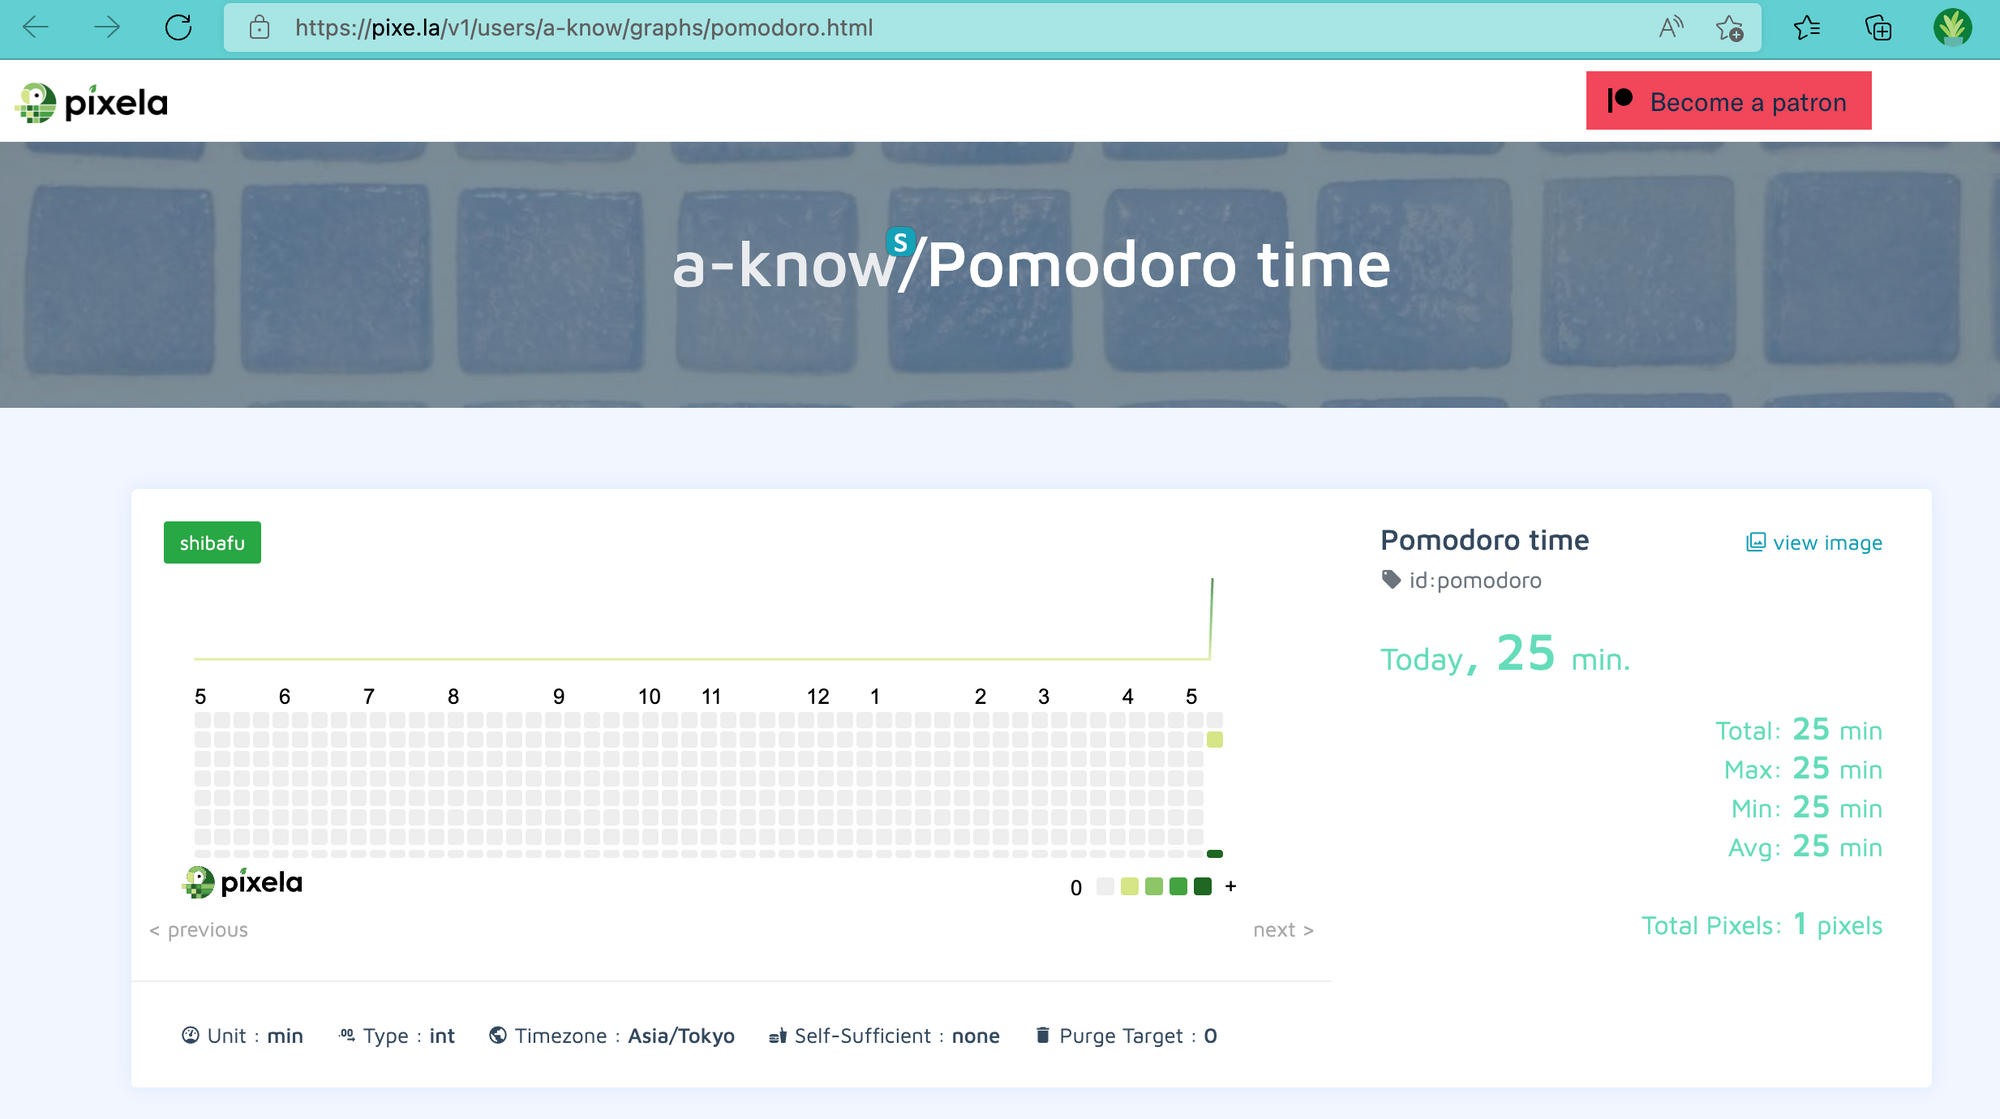
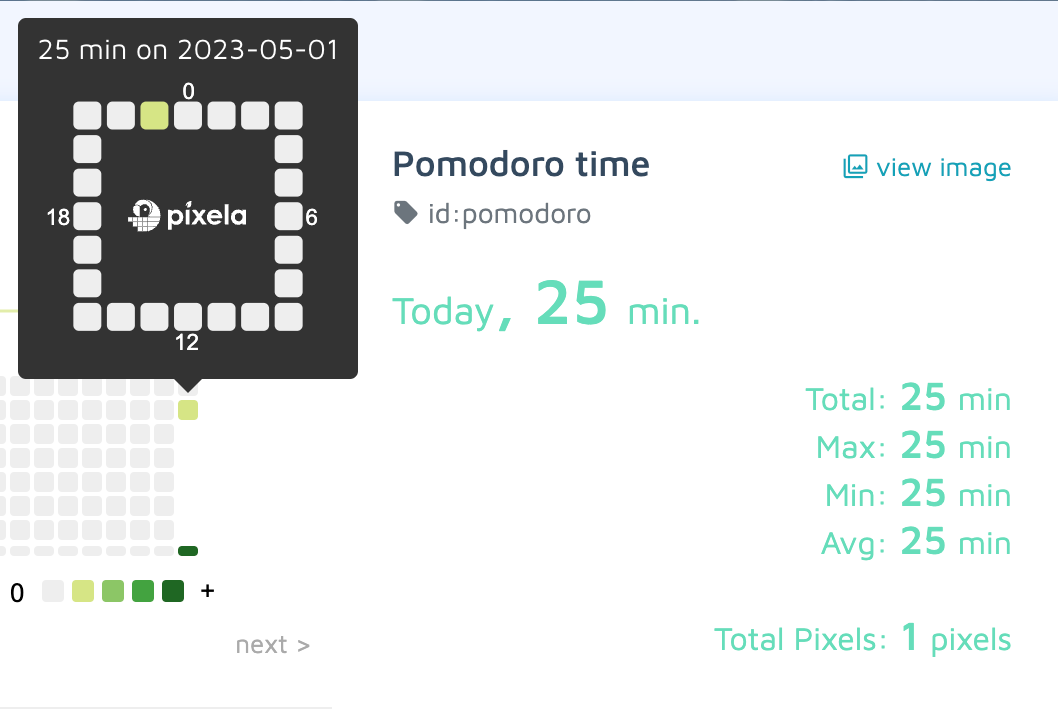
It is properly updated! Congrats!! 🎉
By the way, the Counter Widget has the feature to check the history of past button taps.
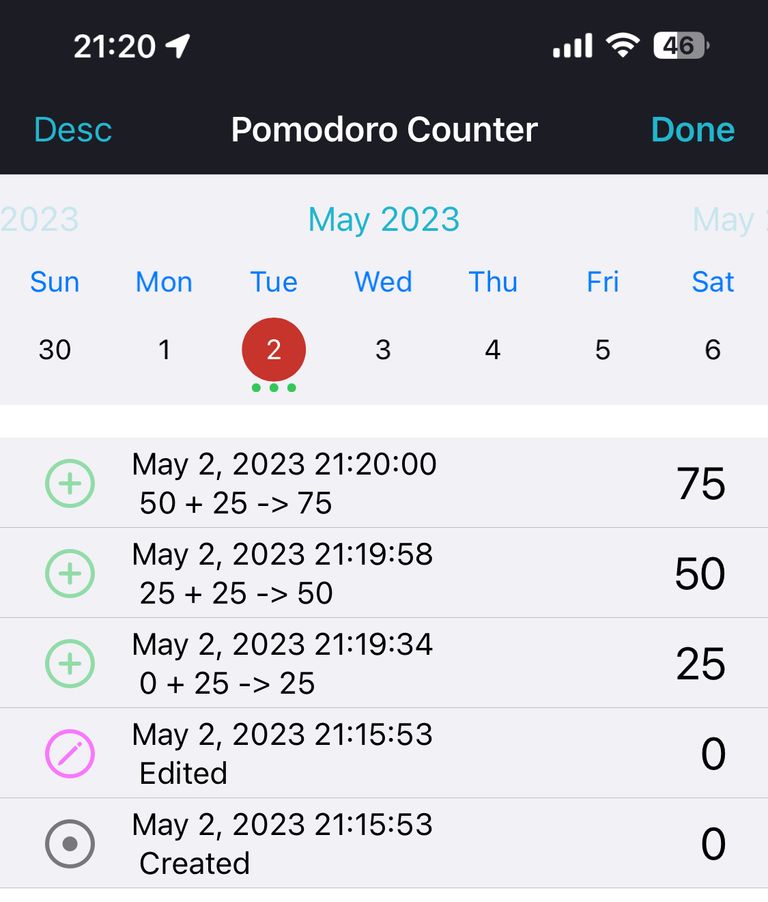
Linkage from Counter Widget to Pixela is realized by an API request (HTTP request to a Webhook). In other words, there is always the possibility that "I tapped a button on a widget, but the request did not complete successfully" due to unintended network problems or failures on Pixela.
In such cases, it is a good idea to check the values against the past history recorded in the Counter Widget and modify the values registered in Pixela accordingly.
Conclusion
We have shown you how to integrate Pixela with "Counter Widget", which allows you to place a counter on the home screen of your iOS device.
I believe that everyone no longer has a smartphone in their hand wherever they go. You can even use the material presented in this article to record all the activities of your daily life in Pixela.
We hope the contents of this article will help you make this a daily habit.