💨
Getting started with Pixela
Pixela provides only RESTish Web API, but it is not so difficult to start using.
Let's dive into the Pixela world from the console on your machine!
1. Create your user account
Request Users API as an HTTP POST. API document
2. Create your first graph
Request Graphs API as an HTTP POST. API document
3. Try to show the graph

You could create your first graph which no values recorded for any dates yet.
4. Post a value for a date
Reqeust Pixels API as an HTTP POST. API document
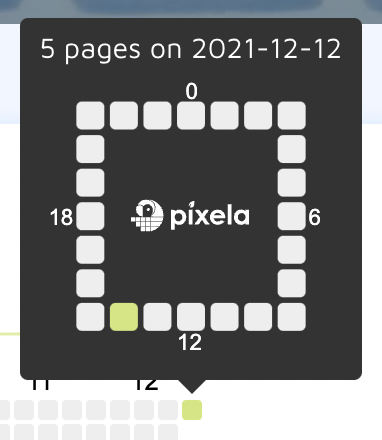
5. Try to show the graph, again!

You can see the color of pixel at the position of the date specified in your Pixels API requested has changed, you know?
6. Find out more information
Try to add to this URL and access by using web-browser.

Then, you can see various detailed information about this graph. You can also see tooltips by hovering the mouse cursor over each pixel in the graph displayed on this page.